

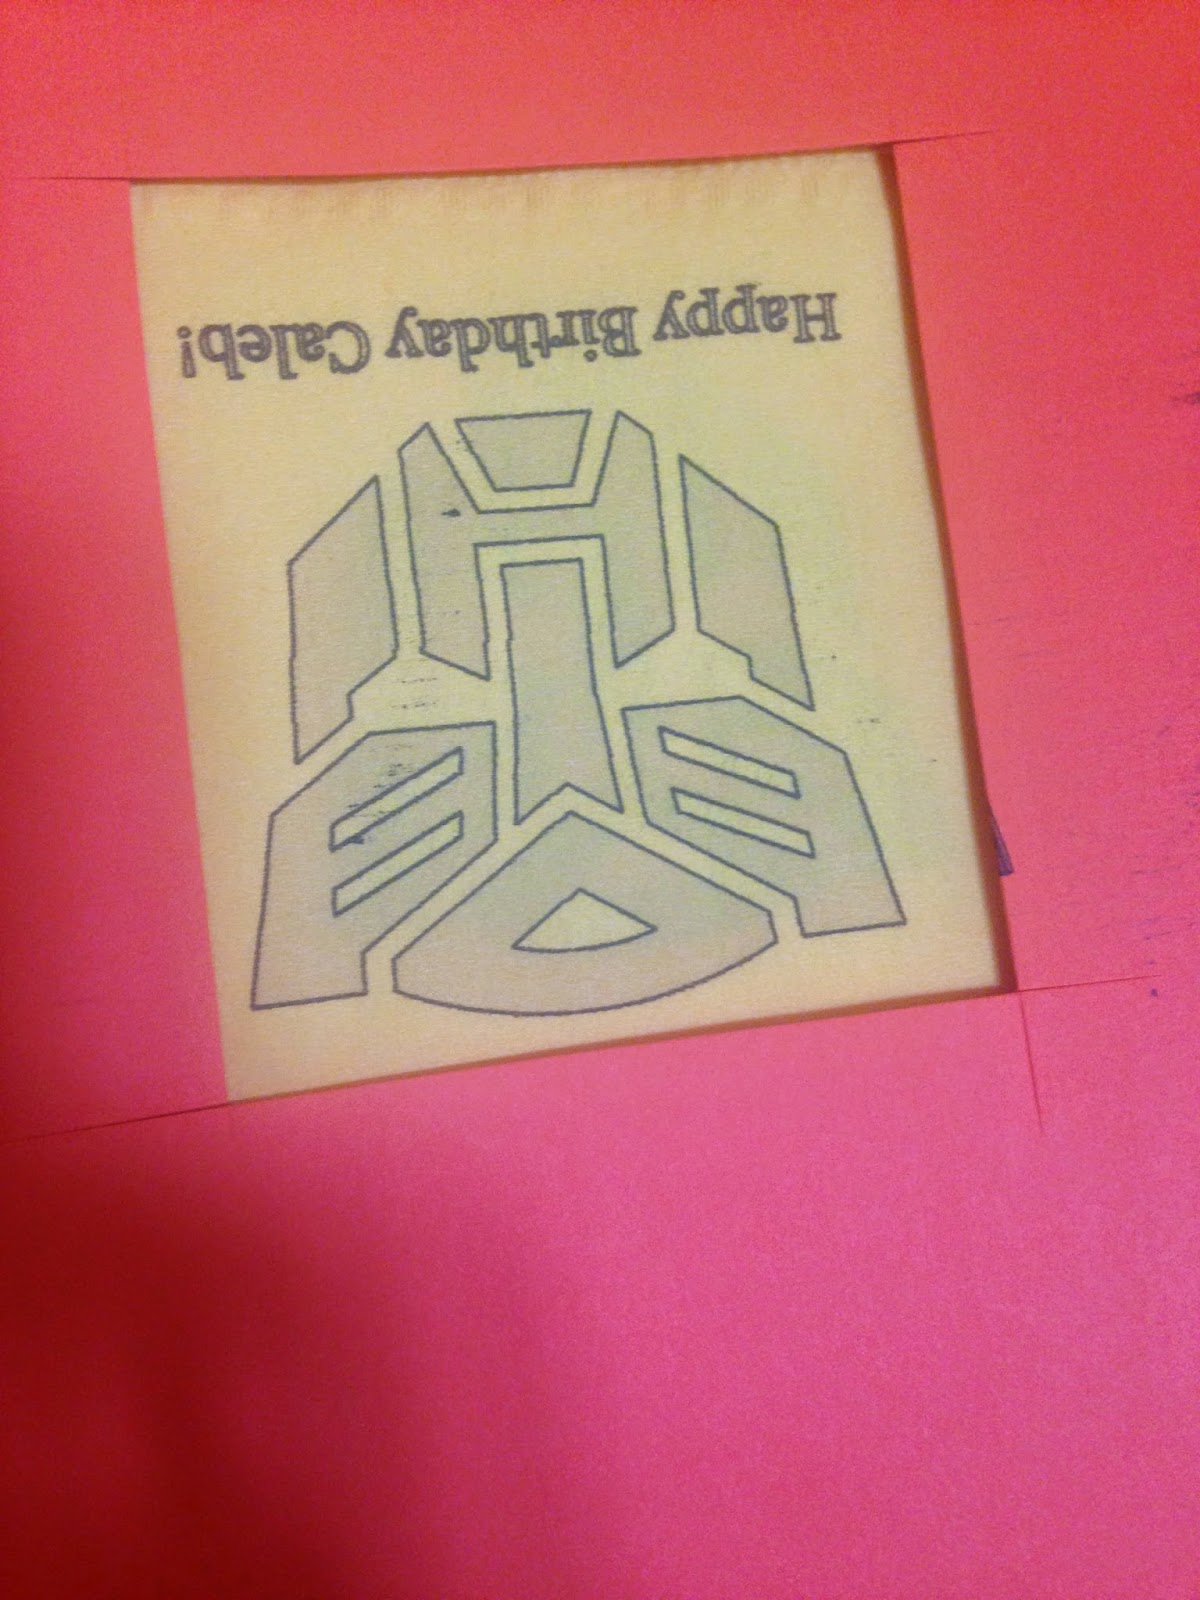
A crumpled smudgy mess was not really what I had in mind. So here's what DID work. I made my document. I made sure to switch the large robot face color to Gray with Dark outlines to keep from soaking the napkin with ink.

Then I printed the design onto TWO sheets of card stock. One White and One Orange… I cut out the design on the orange copy leaving behind an orange frame. I taped these two sheets together across the bottom with regular scott tape so my printer would pick up both pieces of paper. (I changed my design after printing this but you get the idea)

Then I opened up a napkin and layered it over the white paper. Because I printed the design on the white paper it showed through the napkin so I could make sure it was centered. Then I closed the card stock sandwich around the napkin and loaded the whole thing into my inkjet rear tray.


Whalah! Hopefully my trial and error will save you some headaches as you race toward the finish of your party.

No comments:
Post a Comment